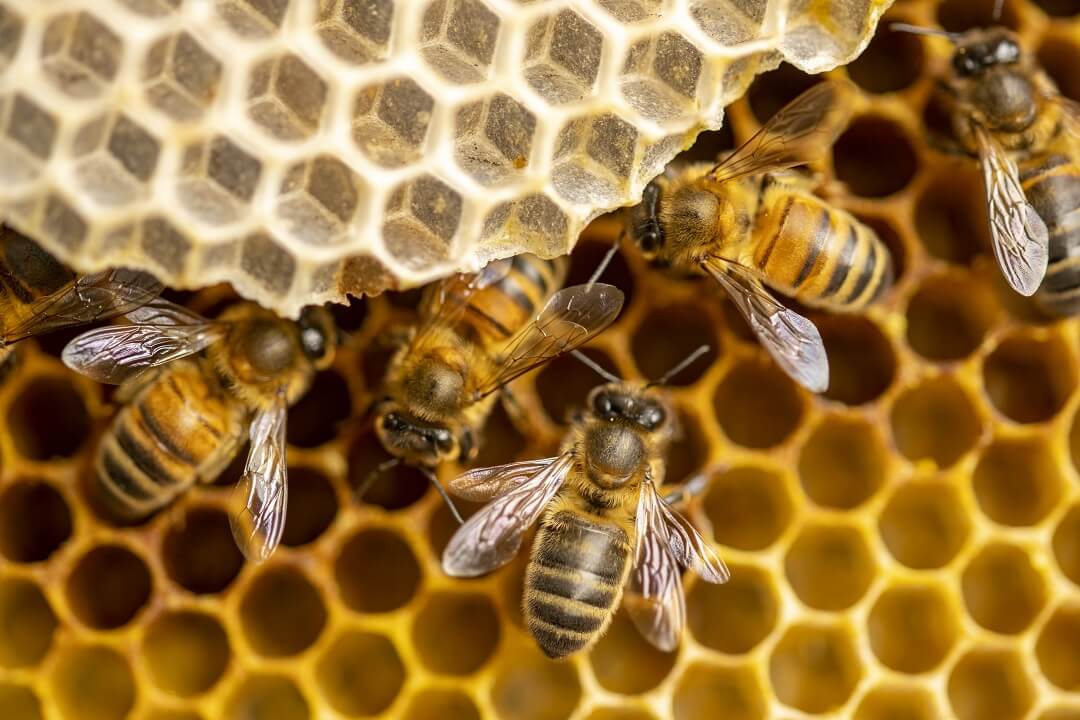
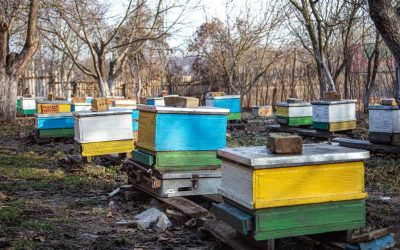
Bees are fascinating creatures that play a crucial role in our ecosystem. They are responsible for pollinating flowers and crops, helping plants reproduce, and producing the fruits and vegetables we rely on for food. As such, it’s not surprising that many people are interested in keeping bees and setting up a beehive.
However, setting up a beehive can seem like a daunting task, especially for those who are new to beekeeping. Fortunately, with some research and preparation, anyone can become a successful beekeeper.
In this comprehensive guide, we will walk you through the steps to setting up a beehive, including choosing the right equipment, finding a suitable location, acquiring bees, and more. Whether you’re a beginner or an experienced beekeeper, this guide will provide all the information you need to get started.
Key Takeaways
-
- When selecting a location for your beehive, you should look for an area that provides adequate sunlight, access to water, protection from the elements, and access to forage.
- Consider the location’s proximity to your home or other structures, and check for any local regulations or restrictions that may impact your ability to keep bees.
- To prepare the hive-site, clear the area of any debris and make sure the ground is level. Install a hive stand and orient the hive in a direction that provides protection from the elements.
- Assemble the components of the hive, including the hive body, bottom board, entrance reducer, inner cover, outer cover, and hive stand.
- Ensure that all components are securely fastened and leveled and that the entrance reducer is in place to regulate the entrance size and prevent predators from entering the hive.
How to Determine the Best Location for Your Beehive
You will need to assess the area surrounding your potential hive-site. Look for areas that provide adequate sunlight, access to water, protection from the elements, and access to forage. Consider the proximity of your hive to your home or other structures, as well as any local regulations or restrictions that may impact your ability to keep bees.
A poorly chosen location can lead to problems with disease, pests, and poor honey production.
Factors to Consider When Choosing the Location
When selecting the best location for your beehive, there are several factors to consider, including:
- Sunlight: Your bees need access to sunlight to keep their colony warm and to promote growth of their colony. Ideally, the location of your hive should provide at least six hours of direct sunlight each day.
- Water source: Bees need access to water to keep the hive hydrated and to help produce honey. The location of your hive should be close to a reliable water source, such as a nearby lake, pond, or stream.
- Protection from the elements: The location of your hive should provide protection from strong winds, heavy rain, and extreme temperatures. A protected area, such as a sunny spot in the forest or near a building, is ideal.
- Access to forage: Your bees need access to a reliable food source to survive and thrive. The location of your hive should be near a diverse source of nectar and pollen, such as a nearby meadow, forest, or garden.
Setting up the Hive
It’s time to bring your buzzing buddies home! After finding the perfect location for your beehive, it’s time to set it up. In this section, we’ll guide you through the process of putting together your hive and getting it ready for your colony. Whether you’re using a Langstroth Hive or a modern Flow Hive, we’ve got you covered. So let’s get started and make sure your beehive is ready for its new tenants!
Step 1: Preparing the Hive Site
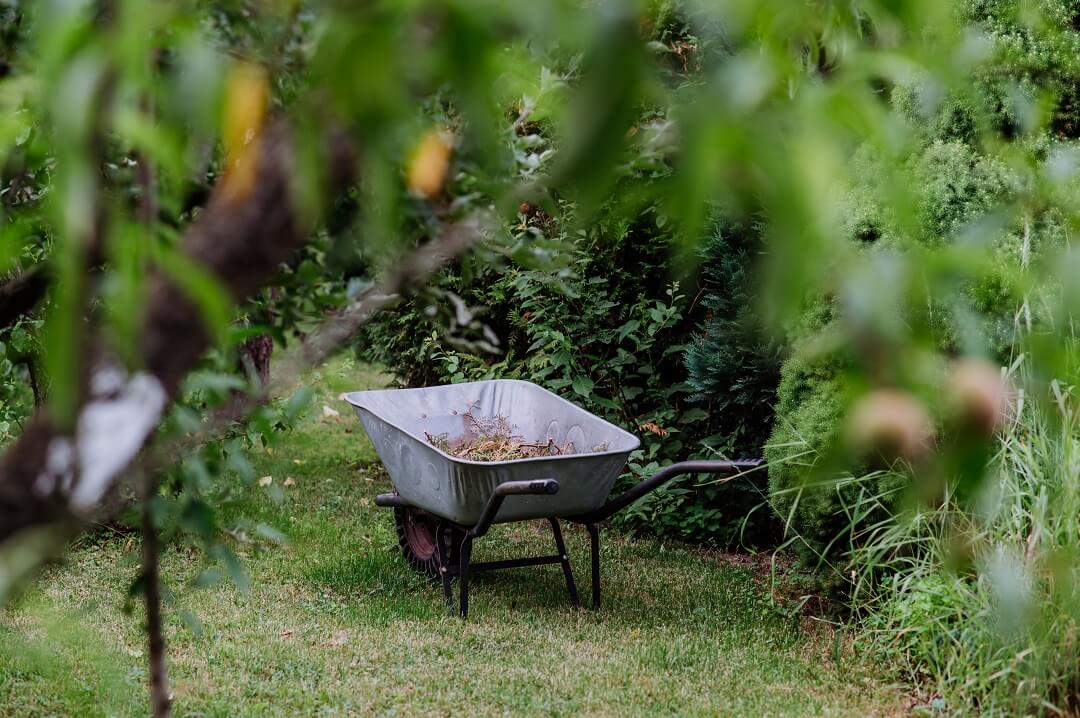
Congratulations! You’ve chosen the right location for your beehive, and now it’s time to prepare the site where you’ll place it. This is a critical step in the setup process, as a well-prepared site will ensure that your hive is safe, secure, and in a suitable environment for your bees. In this section, we’ll walk you through the steps you need to take to prepare the perfect hive-site.
Clearing the Area
Before you place your hive, it’s important to clear the area of any debris, brush, or other obstacles that could impede the bees’ flight path or make it difficult for you to access the hive. Make sure to clear a space of at least three feet around the perimeter of the hive. Also, be mindful of any obstacles that could interfere with the bees’ ability to fly in and out of the hive.
Leveling the Ground
Next, it’s time to level the ground where the hive will sit. Ensure the area is even and level, so the hive will sit securely and stably. If the ground is not level, use sand, gravel, or soil to build up the lower areas or fill in any holes until the ground is even and level.
Installing a Hive Stand
A hive stand is an essential component of a healthy beehive, as it provides a solid base for the hive to sit on, keeping it off the ground and away from dampness and pests. If you still need to get a hive stand, you can purchase one or build one yourself. Ensure the hive stand is level and securely anchored to the ground so that it doesn’t move or tip over.
Orienting the Hive
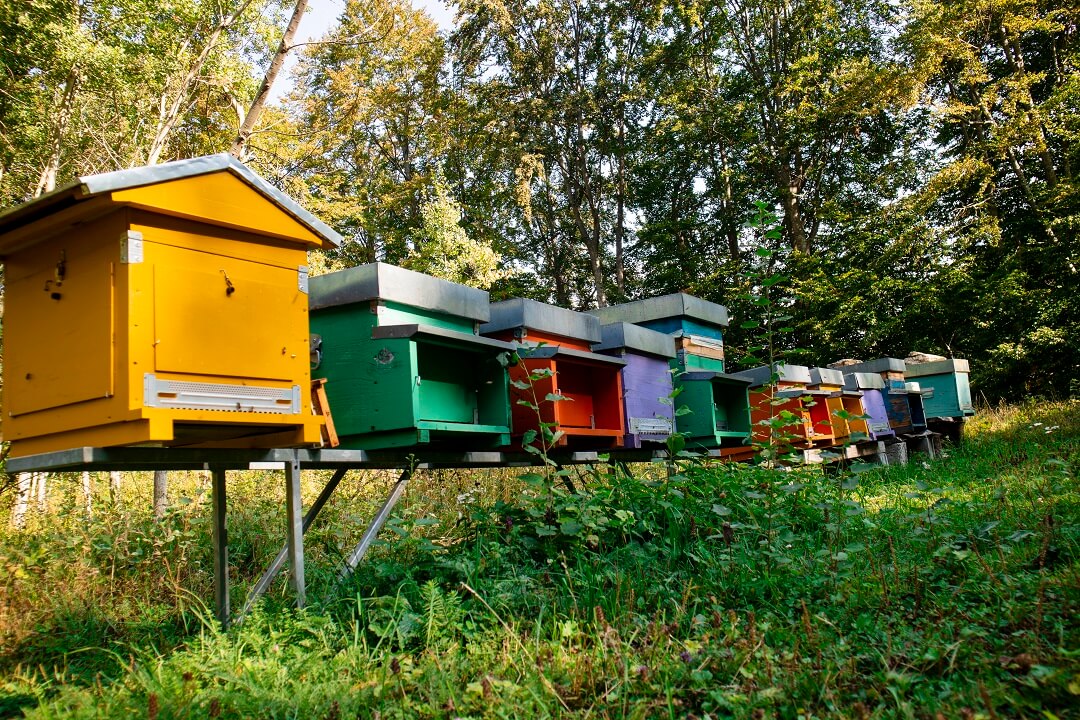
Finally, it’s time to place the hive on the stand and orient it in the direction that provides the most protection from the elements. This is typically to the east or southeast so that the entrance is facing away from the prevailing wind and rain. Make sure the hive is level and that it’s positioned so that the entrance is facing the right direction for the bees to fly in and out of the hive.
Step 2: Assembling the Hive Components
You’ve chosen the perfect location for your beehive; now it’s time to put it all together! Assembling the hive components is an important step in setting up your beehive and ensuring its success. In this section, we’ll go through the steps to properly assemble the components of your beehive so that it’s ready for your bees.
Here’s what you’ll need:
- Hive body
- Bottom board
- Entrance reducer
- Inner cover
- Outer cover
- Hive stand
- Nails or screws
- Hammer or drill
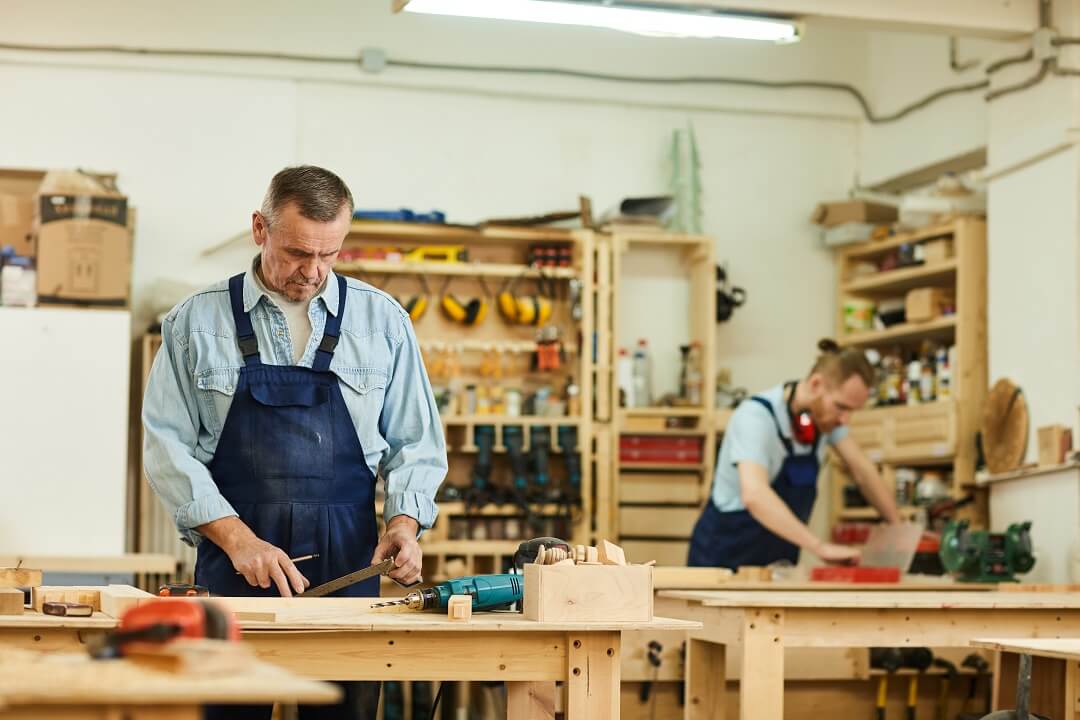
Assemble the Hive Body
The hive body is your beehive’s main component and will be your bees’ home. Assemble the hive body by putting together the individual boxes, or “supers,” that make up the hive. Make sure that the boxes are securely fastened together and are level.
Attach the Bottom Board
The bottom board is the base of your beehive and provides a solid foundation for the rest of the components. Attach the bottom board to the hive body using screws or nails, making sure that it is level and secure.
Add the Entrance Reducer
The entrance reducer is used to regulate the size of the entrance to the beehive. This helps to prevent predators, such as skunks or raccoons, from getting inside the hive. Attach the entrance reducer to the bottom board, making sure that it is level and secure.
Place the Inner Cover
The inner cover helps to regulate the temperature and humidity inside the beehive. Place the inner cover on top of the entrance reducer, making sure that it is level and secure.
Put on the Outer Cover
The outer cover provides protection from the elements, such as wind and rain, for your beehive. Place the outer cover on top of the inner cover, making sure that it is level and secure.
Set the Hive on a Stand
The hive stand raises the beehive off the ground, providing better ventilation and making it easier to inspect the hive. Place the hive on a sturdy stand and make sure that it is level.
Step 3: Installing the Hive into the Hive Site
Now that you have the hive-site prepared and all the components assembled, it’s time to install the hive and get your bees set up in their new home. Before you get started, be sure to suit up in protective gear, including a bee suit, gloves, and a veil. This will help protect you from getting stung as you work with the bees. Here’s what you need to do to install the hive:
Place the bottom board on the prepared site
This is the foundation of your hive and should be the first component you install. Make sure it’s level and secure on the stand.
Add the brood boxes
These boxes will house the queen and the rest of the colony. Place them on top of the bottom board, making sure they are securely fastened together.
Add the honey supers
These boxes are used to store honey, and you’ll add them later in the season as the colony grows.
Add the inner cover and outer cover
These covers help protect the colony from the elements and should be placed on top of the honey supers. Make sure the inner cover is securely fastened to the top of the hive.
Install the entrance reducer
This component regulates the size of the entrance to the hive and helps protect the colony from predators and pests.
Add the feeder
If you’re installing the hive in the spring, you’ll need to feed the colony until they can gather enough nectar and pollen to support themselves. You can use a feeder to provide the colony with syrup until they’re established.
Securing the Hive in Place
Once the hive is positioned on the landing board, it’s important to secure it in place. This can be done by using brackets, stakes, or other methods that will keep the hive stable and prevent it from moving around. A sturdy and secure hive is essential to the health and well-being of the bees.
Step 4: Making Sure the Hive is Well-Vented
Good ventilation is essential to the health of your bee colony. Bees are sensitive to overheating and humidity and poor ventilation can lead to a range of problems, from queen supersedure to a reduction in honey production. In this section, we’ll cover two key ways to ensure that your hive is well-vented.
Adding Ventilation Holes
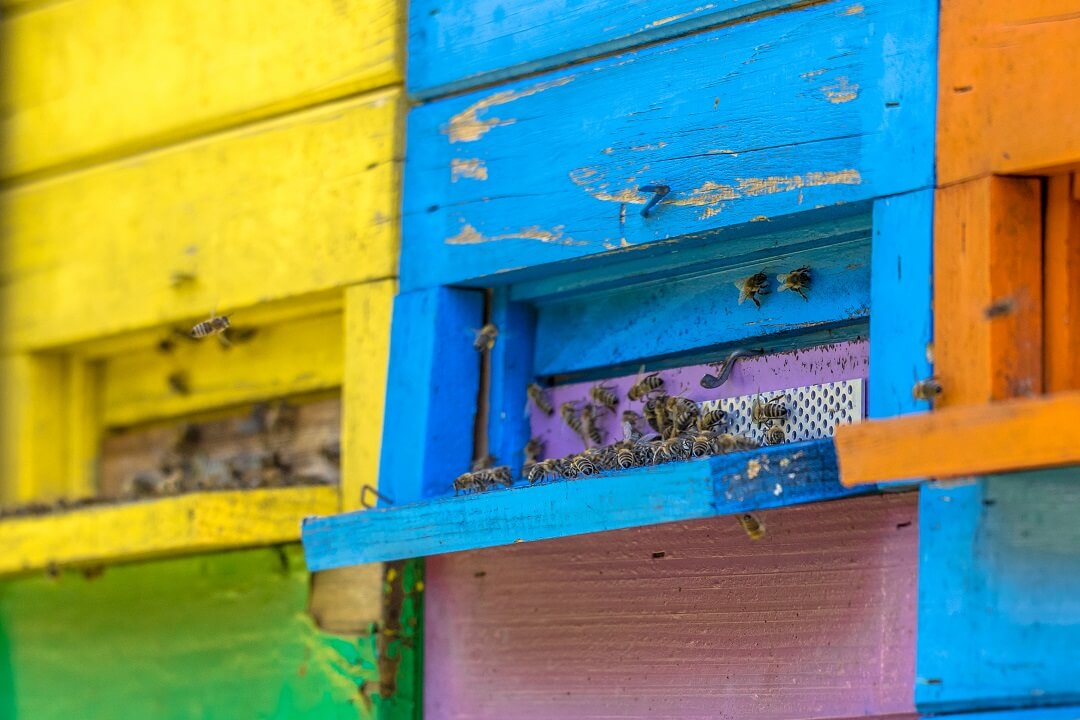
Ventilation holes are an important part of keeping your hive well-vented. These holes allow fresh air to circulate through the hive, helping to regulate temperature and humidity levels. You can add ventilation holes to your hive by drilling small holes in the sides or top of the boxes. Make sure that the holes are evenly spaced and that they’re not too large or too small. If you’re unsure how many holes to add, you can consult a beekeeping guide or ask a local beekeeper for advice.
Keeping the Entrance Clear of Any Obstructions
The entrance to your hive is an important part of the ventilation system. If the entrance is blocked by leaves, grass, or other debris, it can make it difficult for the bees to enter and exit the hive, and it can reduce the airflow into the hive. To keep the entrance clear, simply remove any obstructions and keep the area around the entrance clean and free from debris.
By adding ventilation holes and keeping the entrance clear of obstructions, you can help ensure that your hive is well-vented and that your bee colony remains healthy and productive. Always be mindful of the conditions inside the hive and make changes as needed to keep the colony thriving.
Step 5: Adding Protective Measures
Installing protective measures is an important part of setting up and maintaining a beehive. There are a number of potential threats to the health and well-being of your colony of bees, including pests, predators, and harsh weather conditions. By taking a few simple steps to protect your hive, you can help ensure that your bees stay safe and healthy.
Installing a Varroa Mite Screen
Varroa mites are a common and persistent threat to honeybee colonies. These mites feed on the hemolymph (the insect equivalent of blood) of adult bees and the developing larvae. If left unchecked, a Varroa mite infestation can quickly decimate a colony.
To help prevent an infestation, you can install a Varroa mite screen on your beehive. This screen is typically a piece of mesh material that fits between the bottom board and the brood box. It provides a barrier that prevents Varroa mites from entering the hive and spreading to the rest of the colony.
Wrapping the Hive in Winter Insulation
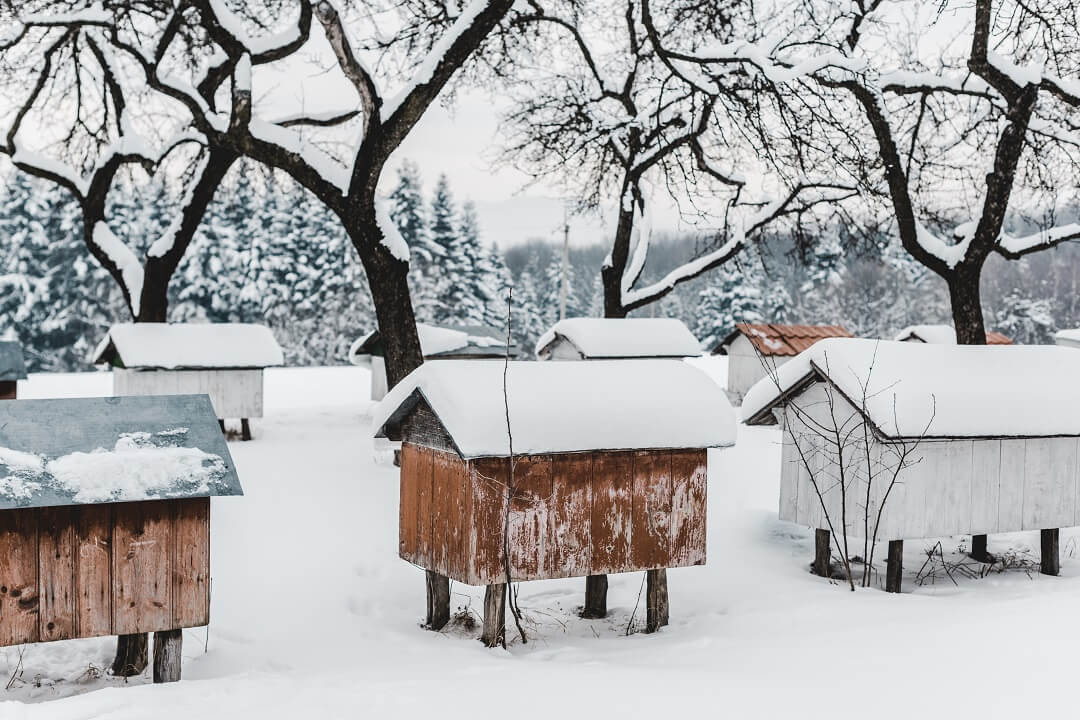
In many regions, winter temperatures can be harsh and unforgiving. If the temperature inside the hive drops too low, the bees may not be able to survive. To help protect the colony from the cold, you can wrap the hive in winter insulation.
There are several options for insulating a beehive, including using a quilt box, wrapping the hive in foam insulation, or using a specially designed winter wrap. The specific method you choose will depend on your local climate, the size of your hive, and your personal preference.
Placing a Mouse Guard
Mice and other small rodents can be a threat to honeybee colonies, especially during the winter months when food is scarce. Mice can climb into the hive, eat the stored honey, and damage the comb. To prevent this, you can place a mouse guard at the entrance to the hive.
There are several types of mouse guards available, including wire mesh guards, spring-loaded guards, and adhesive guards. Choose the type that best suits your needs and make sure it is securely in place before winter sets in.
By adding these protective measures, you can help ensure that your beehive stays safe and healthy throughout the year. Whether you’re just starting out with beekeeping or have years of experience, taking these steps is an important part of caring for your colony.
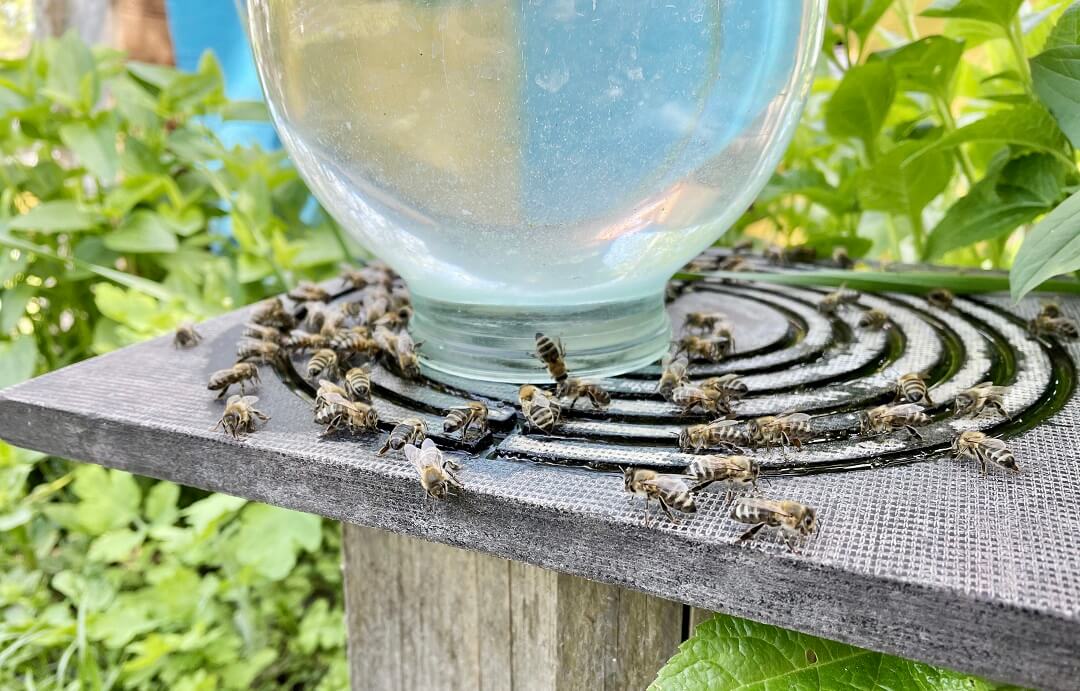
Step 6: Adding a Water Source Near the Hive
Bees need a source of water to help cool the hive and hydrate the colony. Make sure there is a nearby source of water that the bees can access. A shallow dish of water or a small bird bath filled with water and a few stones for the bees to land on can be used.
Step 7: Adding a Sun Shade if Necessary
If your hive is located in a sunny spot, you may want to add a sun shade to help protect the bees from the heat. A sun shade can be made from a piece of wood or metal that is positioned over the top of the hive. This will help keep the hive cooler and make it more comfortable for the bees to live in.
Step 8: Finishing Touches
Now that you’ve installed the hive and taken steps to protect the colony, it’s time to add a few finishing touches that will make the hive more aesthetically pleasing and functional. Here are some final steps you can take to complete your beehive setup:
Painting or Staining the Hive
Painting or staining the hive is a great way to make it look nice and protect the wood from weather damage. Choose a color that complements your landscape and use a paint or stain that is specifically formulated for use on wood. Make sure to follow the manufacturer’s instructions and let the paint or stain dry completely before adding the bees to the hive.
Labeling the Hive with Your Name and the Date of Installation
Labeling the hive with your name and the date of installation is a good way to keep track of your hives and when they were established. You can use a paint pen or a label maker to add the information to the front of the hive.
Conclusion
In conclusion, setting up a beehive can seem like a challenging task, but with the right knowledge and preparation, it can be a fun and rewarding experience. By following the steps outlined in this comprehensive guide, anyone can become a successful beekeeper. Whether you’re a beginner or an experienced beekeeper, you’ll learn everything you need to know about finding the perfect location for your beehive, preparing the site, putting together your hive, and more. With this guide as your resource, you’ll be well on your way to establishing a thriving and healthy beehive and supporting the important role that bees play in our ecosystem.

